Showing posts with label decorating. Show all posts

Tuesday, 26 December 2017

John's Christmas Present

I always have a pretty long list of things that John might want for Christmas (what can I say... I'm pretty good at remembering things he mentions/knowing what he needs). This year I decided to fix up his office for part of his present.

John's office - before


John's office - before

Since it's the smallest bedroom upstairs I'm fairly certain it will remain an office for a while so I figured it was pretty safe to redo. So the last day before his Christmas break I had a friend come over and help me with the project... and we got it all done while he was at work.

Luckily for us I had somehow convinced John that we should FINALLY finish painting the ceilings upstairs... and since we would be emptying out the rooms to paint the ceilings I also convinced him we should paint the walls while we are at it. This meant that the bulk of the hard work was already done.

New furniture wasn't in the budget so I had to work with what he already had in there. This meant that pretty well all the furniture that was already in there was going to stay in there. I did come up with a plan while he was away for work a week in November for how I thought his office could be arranged differently though.


He has a couple of newspaper clippings that he's saved for years... one was in a slightly damaged frame so I bought 2 of the cheapest frames from Michaels (using 50% off coupons of course). They were meant for a certain size of poster and the newspaper clipping didn't fill up the entire frame... but I wasn't going to pay for a mat on it so instead I turned the paper that came with the frame so that the white side was facing outwards to use as a mat... worked pretty well if you ask me!

John also had this slightly 3D picture of a hockey player (it's the middle picture in the line up of 3) that I had to figure out. I went to Michaels to ask about a frame for that but the frames that have enough space in them to accommodate something 3D like this were kind of expensive (and also not quite the right size) so after much contemplation I opted for just putting a nail in the wall and not using a frame for it at all (see the final pictures at the end of the post).

The wall colour. 

Below are some of the options I was debating on to paint one of the walls in his office... in the end I decided to paint all the walls a neutral colour and use some coloured curtains instead.


So I found the nicest curtain rod I could for an inexpensive price ($14 at Canadian Tire) and some inexpensive but still nice curtains from Walmart. Since his favourite team is the Washington Capitals (and he has a bit of stuff to do with that team) I wanted some of the accent colours to be either red or blue (hence me debating on blue as the wall colour). Which is why I opted for blue and white curtains.

The last thing I added to the room was a couple of floating shelves. This way he would have somewhere to show off some of his "toys", somewhere to put pictures, or just extra space to put something one day. I bought them at Jysk a while ago when they were on sale. I really wanted one large one (which is the size I ended up buying) and one that was the size down from this but they were 2 different shades of white which I didn't like so instead I got 2 of the larger sizes.

We also hung up his whiteboard so it's no longer sitting on the floor (and I guess if John wants to put it back on the floor he can).

I must say the finished product... is not too bad... and we got it all done in the span of 4 hours (while John was at work for the morning)


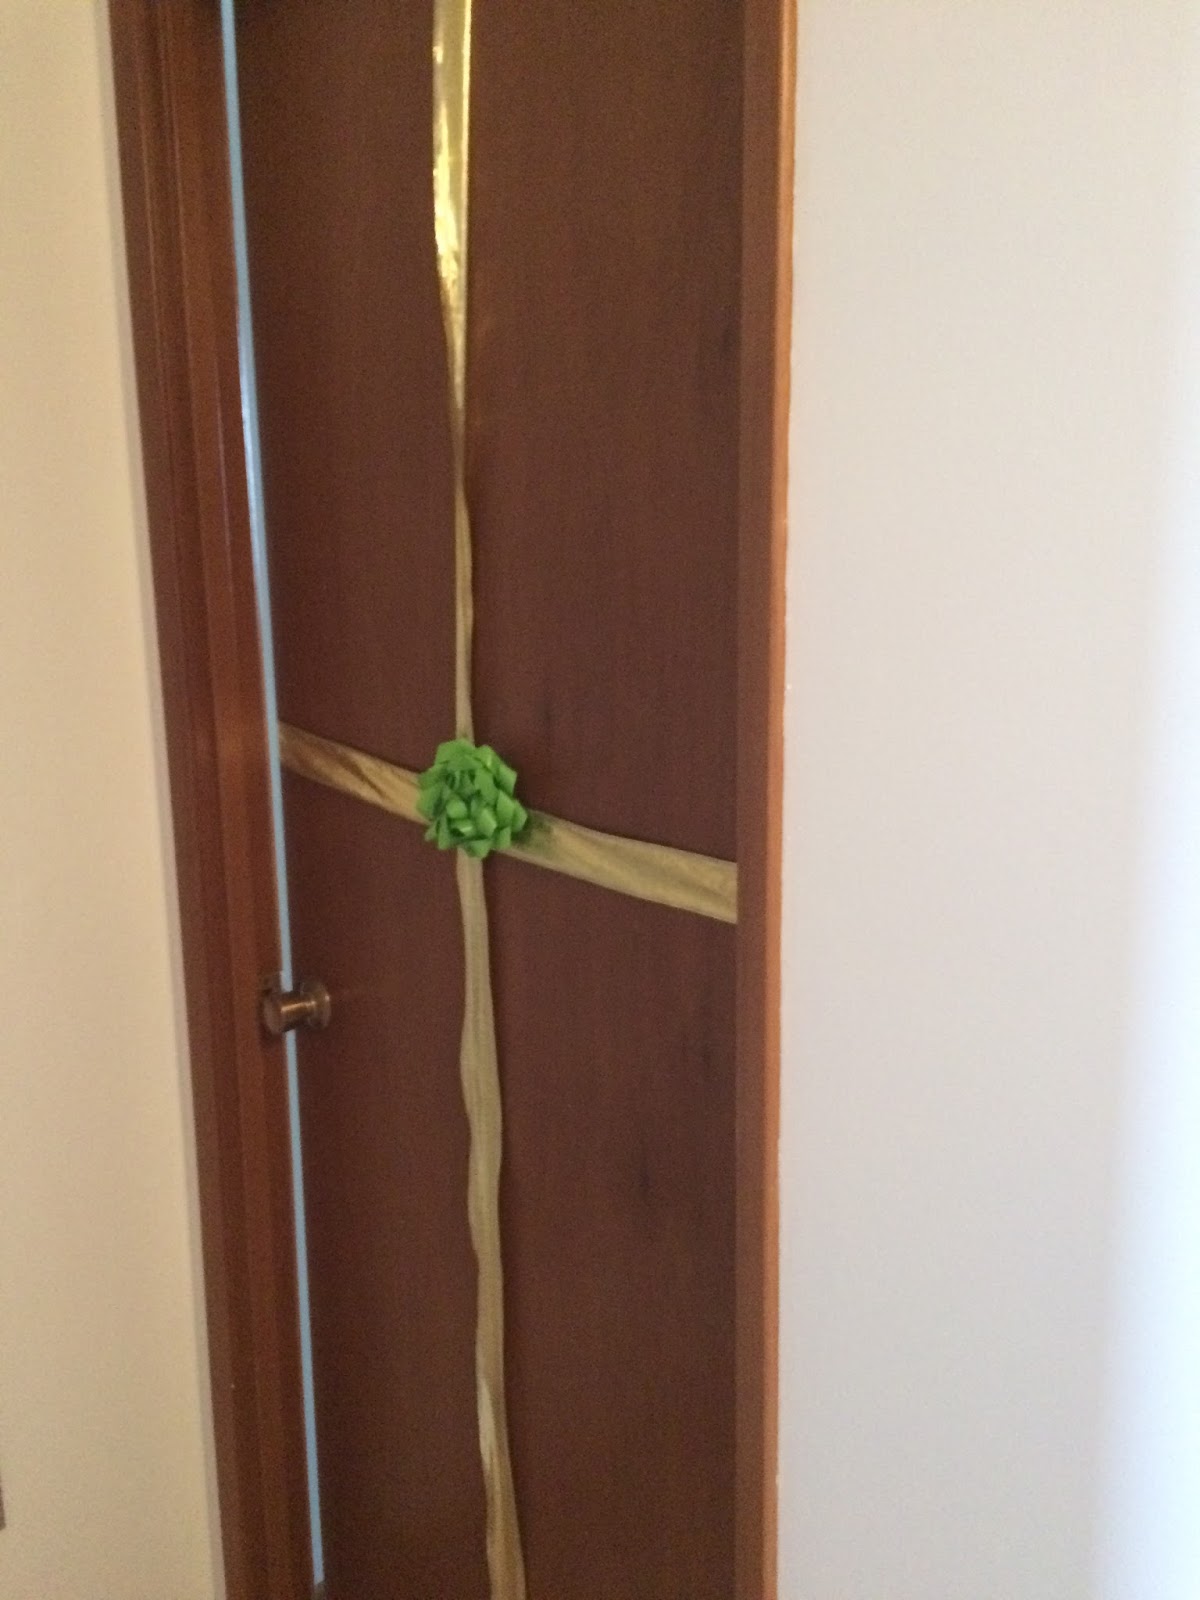
I also decorated his office door to be more present like


John's office - after
New curtains, pictures hung, brown chair added, and switched out his Winnie the Pooh lamp for something smaller and more neutral.


John's office - after. Pennants displayed, floating shelves installed, whiteboard hung (with festive message), Christmas tree added, and desk moved from corner to the longest wall.


Tuesday, 10 October 2017

Extra Pieces

When John and I moved out of the condo I made us move a giant box with extra pieces to our nightstand that I never took out of the box because I didn't like the floor model with this part attached.

We'll a few weeks ago we finally cracked open that old box and looked at what this extra part was actually all about... and I think it's kinda cool.

light up night stand

The piece actually goes on the back of the nightstand and just makes it as tall as the headboard.... I feel it just makes the headboard look way too big.  

But it lights up so therefore it's pretty cool and something that we should take full advantage of... just in a different place.

So how could we DIY this into something else?

I was thinking a tall shelf of some kind for the basement one day... the problem is I would think this part would be the top of the shelf and it's kind of heavy.

And that my friends is pretty much as far as my thought process went.

Any ideas?  
What else could we use this for?
(FYI... there are 2 of them!)


Tuesday, 28 June 2016

Wedding Centerpieces and Wedding Cake

John and I had a hard time picking out colours for our wedding.  I initially proposed the idea of purple and orange to him about a month ago and he did not like it.  When I asked what he didn't like about it he said it was the orange.  So I let him hum and haw over it for a while and eventually we decided on the colours (by talking about centerpieces) and they are... purple and orange (I guess it was the wrong colour of orange).

Some inspiration for our centerpieces came from these photos...


We haven't picked exactly what kinds of flowers are going to be in them... I think John said some wispy kind of looking orange ones... a few purple, white (probably babies breath), and a bunch of green.  There is going to be one special touch that is unique to us that John wanted to include from the beginning (I just helped him come up with a more elegant way of including that special touch)

As for the cake... we asked my sister early on if she would be willing to do our wedding cake for us and so we kind of had to have an idea of what kind of cake we wanted early on.  So, we looked up some wedding cakes online (without fondant because lets be honest, who actually enjoys that stuff?) so we sent her these 2 pictures of cakes that we liked.

My choice for wedding cake

John's choice for wedding cake


My sister said she could make us 2 smaller cakes instead of one large cake so that we could both have our way on this one but then I mentioned to John that no one would believe that he wanted the fancier looking cake.

In the end we are going with my choice of cake.  

Why?

Because John said he cared more about the centerpieces then the cake.

We haven't decided on a flavour of cake yet... once we spot a great deal on cake mixes is when we'll have to decide on that one.

Monday, 21 December 2015

DIY Chistmas Framed Art


Day 21
Christmas Frame Art

Folks, this one is so simple to do (and you barely need any supplies to make them!)... it shouldn't cost you more than $10 (but hopefully it will be even less because, like myself, you'll be able to re purpose some of the things you have at home.

Here's what you'll need

1.
Some picture frames.
I already had these (pretty sure they come from Ikea in a package of 2).  I was lucky and mine were red but I think a lot of different colours and styles of frames would work for this.  I actually considered removing some of the artwork from some of the frames I currently have up around my place and making them into Christmas frames just for this season and then putting all the proper pictures back in them... but I didn't... but you could!

(my apologies for the sideways picture)
frames

2.  
Wrapping Paper.
Any kind will do.  Here's my collection of Christmas wrapping paper that I had to choose from


Christmas wrapping paper

3. 
Tape, Scissors, and Glue 

(you may not need both glue and tape... I used both but it isn't necessary)


4.
Cardboard.

I cut up a cracker box so that it would fit inside my frames (I figured out the size by tracing the back part of the frame... no measuring for me!)

cardboard

The steps are simple enough... in fact the first step you can already see done above

1. 
Glue or Tape wrapping paper onto cardboard.
You can see that when you glue the wrapping paper on the cardboard kind of bends... this is why it might be a better idea to use tape BUT.. keep in mind that you are putting it in a frame anyways so it will lay flat in there.

2.
Glue or tape the wrapping paper on the back of the cardboard.
I just wanted it to be on there nice and secure.  I also wanted to make sure my wrapping paper covered the entire front... this was just easiest.


3.
Put wrapping paper covered cardboard back into frames


4.
But frames up around the house


I told you it was easy.

Psst... in one of these photos you can spy My Advent Calendar (just click on that link to learn about what I did for one this year).

Wednesday, 16 December 2015

DIY: Christmas Ornament Wreaths


Day 16
DIY Ornament Wreath


Welcome to Day 16 of Blogmas everyone!  Only 9 more days until Christmas!
I'm glad you're here!

Last week I took you on a little tour of my condo and some of the Christmas decorations I've put up (but not the stuff on my Christmas Tree) and I mentioned how my friend Jessica and I made Ornament Wreaths.  Well, today I'm here to walk you through that process.

First, Jessica and I planned to make these a year in advance.  Yes, I said a year.  But that's because we are Mennonite and didn't want to pay full price for ornaments.  If you don't mind paying full price for ornaments there is still plenty of time for you to make your ornament wreath this season.  If you want to save a few dollars than read on to find out what you will need and you can gather it all up at the end of this Christmas season.

Now that we both knew we would be making these lovely ornament wreaths it was time to get inspired.  A quick image search on google turns up TONS of pictures.


After my perusal of what other people had done I was originally thinking of doing a very colourful one that would include pinks and purples and well... every colour!  So I was buying lots of ornaments in all kinds of colours.


After a little more searching and thinking about what I already have in the living room (my plan was always to put this above my fireplace and my Christmas tree is right beside it) I started to think that a silver and gold ornament wreath would look elegant there


Then I thought about my love for turquoise... and even if it doesn't go with the tree decorations I likely won't be living in this condo for forever.  And so I considered a blue, turquoise, and silver one
For the record, when looking up turquoise wreaths I did stumble on a peacock one that I did consider making... but then I thought maybe Christmas was a season that I didn't need a peacock thing in my living room.

I think Jessica and I ended up making ours around mid November 2014.  After being inspired online I knew that I wanted a blue, turquoise, silver, and green one.  I didn't care that it wasn't matchy matchy with my tree.  I cared that I would love it when it was done (and I do).

This meant that I had to go out and get more ornaments now that I knew exactly what colours I wanted.
Some I found at Goodwill 
But most of the "new" ones (the ones that I got during Christmas season 2014 and not end of the previous Christmas season) came on sale from either Target or Walmart (this was back in the day when we still had Target up here in Canada... *sigh* those were the days)

I knew I wanted a variety of looks and sizes and my friend and I had agreed that we would swap ornaments with each other for different colours (so remember those pink ones that I got at the end of the previous Christmas season.. my friend used them and I used some of her extra silver and white ones).

Get LOTS of ornaments.  You're going to think you have enough but you need LOTS... I'm willing to bet I have about 100 on mine or so (but I also wanted mine to be loaded with them).

Other than the ornaments you'll also need a foam wreath.  I got mine from Michaels because they always have those 40% off coupons and I made sure mine was white (not green) so that it would blend more if you saw it through the gaps in the ornaments. I believe I purchased the largest size they had.

Then get yourself a glue gun if you don't already have one.  I bought mine at Michaels a long time ago when I was doing some crayon art) and it was the cheapest one they sold... it works fine (most of the time).

You can find the glue sticks for glue guns at dollar stores (you can also often find the glue guns there too).

I had my friend bring over some newspapers and we spread them out over the table.  We plugged in an extension cord and power bar and heated up our glue guns.

My friend wrapped some sparkly garland around her ornament wreath and I left mine plain.

When putting on the ornaments you need to take out the metal thing at the top that you would put a hook or string through to put it on your tree.  Well... I guess you don't have to but we did.  I also tried to put that part of the ornament away from the front so that you would see the round ball part.  Use whatever you need to in order to yank that metal thing out... we used some precision screw drivers and pliers.

The first thing I started with was to put ornaments around the outside of the wreath... trying to make sure that the ornaments would sit flat for when I put up on the wall.  Then I did the inside ring.  I didn't want there to being any pattern to my wreath... I just wanted it to be random.  After I finished both of those I used some more of my bigger ornaments in the middle sections and then started filling in spaces with some of the smaller ones.  I think it likely took an hour or 2 but my friend and I are both happy with how ours turned out (she even has other people asking her to make them... maybe we can start up a little business).

My finished product:


TIPS
Make sure you have LOTS of ornaments... I can't stress this enough.  You'll be sad and frustrated and possibly never get back to it if you have to go out and get more midway through.  If you are worried that you'll have lots of extra ornaments you can do what I did and put them in a basket for some Christmas Decor or in a large vase.

Make sure you have LOTS of glue for your glue gun.

Don't buy glass ornaments... we ended up breaking at least a couple.

Start by pulling lots of those metal things off the tops of your ornaments... I just think it might go a little quicker.

If you want to wrap a ribbon around the wreath so that you are able to hang it with that later on you need to do that before you put the ornaments on.  I didn't think of this... so I just hang mine without one... it still works but I do worry that one day I will come home to find it on the floor because it just isn't as stable.


Monday, 14 December 2015

Christmas Decor in the Classroom


Day 14
Classroom Christmas Decor


Once again, for today's Blogmas I'm sending you over to my teaching blog:  Confessions of a Modern Day Substitute Teacher to read about different ideas for how you can Decorate Your Classroom For Christmas!

Enjoy!

Wednesday, 9 December 2015

Christmas Decor

Day 10

Christmas Decor

Hello and welcome to another day of Blogmas... I figured we are likely all setting up for Christmas now so I should get all of my decorating blogs posted sooner rather than later.  So here is what my place is looking like for Christmas (you can see my Christmas tree here).

I'll start by saying that I am not one of those people that feels the need to decorate every room of their house.  Even though my condo is only 5 rooms (2 bedrooms, a bathroom, living/dining room, and kitchen) and I likely could decorate every room... I choose not to over do it.

The first thing goes above my fireplace and I made it last year with my friend Jessica.  Come back next week to see how Jessica and I made them!


Speaking of my fireplace I put some garland over it and string some lights through it.  I also make sure to hang all the stockings that I own (sadly, they never get filled).  My aunt passed away a number of years ago and one of the things that she collected were these little holiday houses.  When we were splitting up her stuff each of her nieces and sister in laws took a house (you can find it in the bottom left corner).  Like I said... I'm not into crazy Christmas decorating and don't want to make a winter village scene like many other people I know... but I put the house out by my fireplace in memory of her.  The star on the left of my fireplace mantle is from one of my students.


I usually keep a basket of those premade and sealed up logs by my fireplace... I just buy a couple boxes when they go on sale. I'm running low this year because I forgot to get at the end of season last year (or I never saw them go on sale).  You can spy one real log in the bottom right corner... the basket is just beside it but my couch is hiding it in this picture.

Any ornaments that didn't get used on my Christmas tree or didn't get glued onto my ornament wreath I place in this plate/basket thing with some other Christmas/winter decor items.  I try to keep everything in here "wintery" and will leave it out until February/March (so blues, whites, greens, and silvers).  The basket sits at the end of my dinning room table... If the basket were a little smaller (or my table a little larger) I would put it in the middle.. and sometimes I put it there but I just end up having to move it whenever I have people over for food or games.


To also use up some extra ornaments I put a bunch of them in this giant vase that once held my birthday roses.  Well, actually, John did most of the work on this... even rearranging some of the ornaments to make sure it looked nice.


I'm not super into any holiday scents like pine tree or cinnamon so I just put out a red or white candle instead.  This one I got at Bath and Body Works last summer (shh... I'm hiding the label).  I figured it is red so it works!  The candle sits on my coffee table.


The last thing I did was something new for this year!  I like to display my own artwork in my living and dinning room (they are actually one room).  In fact, I didn't purchase a single piece of the artwork in those rooms!  I guess I can't really call this my own artwork but I like that I've changed it up for the season and made it just a little more festive.


Stay tuned because in a couple weeks a Blogmas post will be going up for how I made these!


Want more Blogmas?


Wednesday, 2 December 2015

My Christmas Tree


Day 2
What my christmas tree looks like


My Christmas tree!
Ta Da!
John and I put my tree up and decorated it shortly after Remembrance Day.  He says my tree looks like one that should be in a mall but I would disagree... those ones are a lot nicer.

The star is from Dollarama (this was the third Christmas tree topper that I have owned... I think I'm finally satisfied with what I have... of course it had to be the one that came from Dollarama).

The ornaments are odds and ends from old roommates, gifts, and all the goldish ones I bought at the end of season a couple years ago.

The ribbon I also bought at the end of season last year.

The lights need replacing... a number of them are burnt out and one strand goes out if you nudge it the wrong way.  I'm thinking I'll get some new strands at the end of this Christmas season.

The tree I got when I first moved into my condo.  I hummed and hawed about actually getting one and my old roommate convinced me that it was a really good deal (I think it was under $20 and I bought it before Christmas!)  I bought some Christmas tree looking garland to add to the tree to make it look fuller.

The presents are all real!  They are for a hamper my friends and I are putting together (but more on that another day).

John's tree is much different.  I think there are three strands of lights each one looks different.  The lights are colourful and the ornaments are all random.  We've already agreed that if we ever need to share a Christmas tree that he will take the back half to decorate with his stuff and I'll get the front... and somehow neither of our lights will shine through to the other persons side.  Failing that we get two trees and he already called the one in the basement because that's apparently the one everyone is running to Christmas morning.

What does your tree look like?